Disclosure: This post contains affiliate links, which means we may earn a commission if you purchase through our links at no extra cost to you.
Graduation Cap Friendly Hairstyles are all about staying polished under your mortarboard while still feeling like you. Graduation Cap Friendly Hairstyles help keep hair neat, low-profile, and photo-ready so your tassel and smile get the spotlight.
These Graduation Cap Friendly Hairstyles work well for straight, wavy, curly, and coily textures, and flatter round, oval, and heart-shaped faces.
They lean toward low buns, braids, and sleek ponytails that tuck flat, so you look confident and comfortable during every moment of the ceremony.
Sleek Low Bun With Hidden Pins
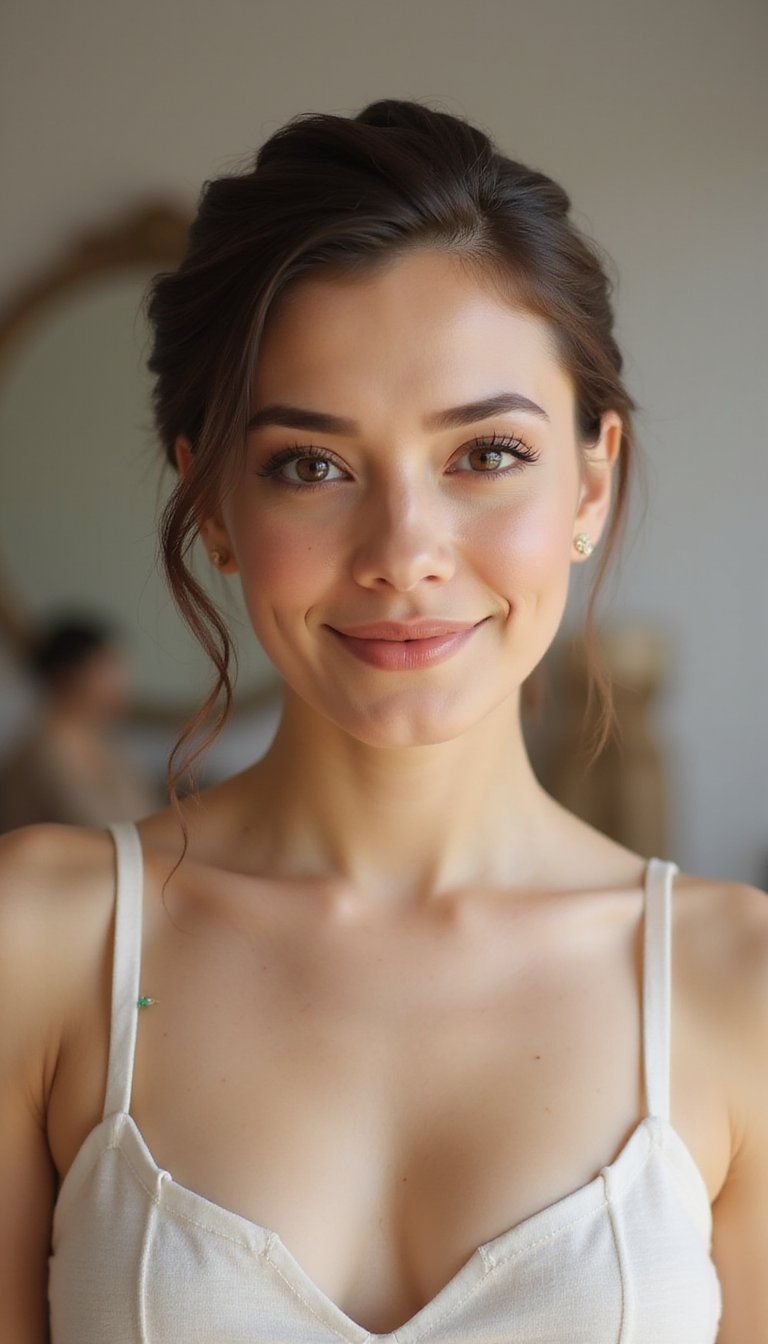
This sleek low bun sits right at the nape and keeps volume minimal so the mortarboard rests flat. Smooth hair back with a light gel or cream to reduce flyaways, then coil the hair into a compact bun and anchor it with bobby pins hidden around the base. This look keeps the face tidy for photos and feels secure through walking, tossing your tassel, and hugging loved ones. It’s elegant, understated, and works on medium to long hair of many textures.
Styling Tips
- Smooth with a lightweight gel and a fine-tooth comb.
- Use strong bobby pins, inserting them in an X for hold.
- Finish with flexible-hold hairspray to tame flyaways.
Braided Crown Pinned Neatly Around Nape
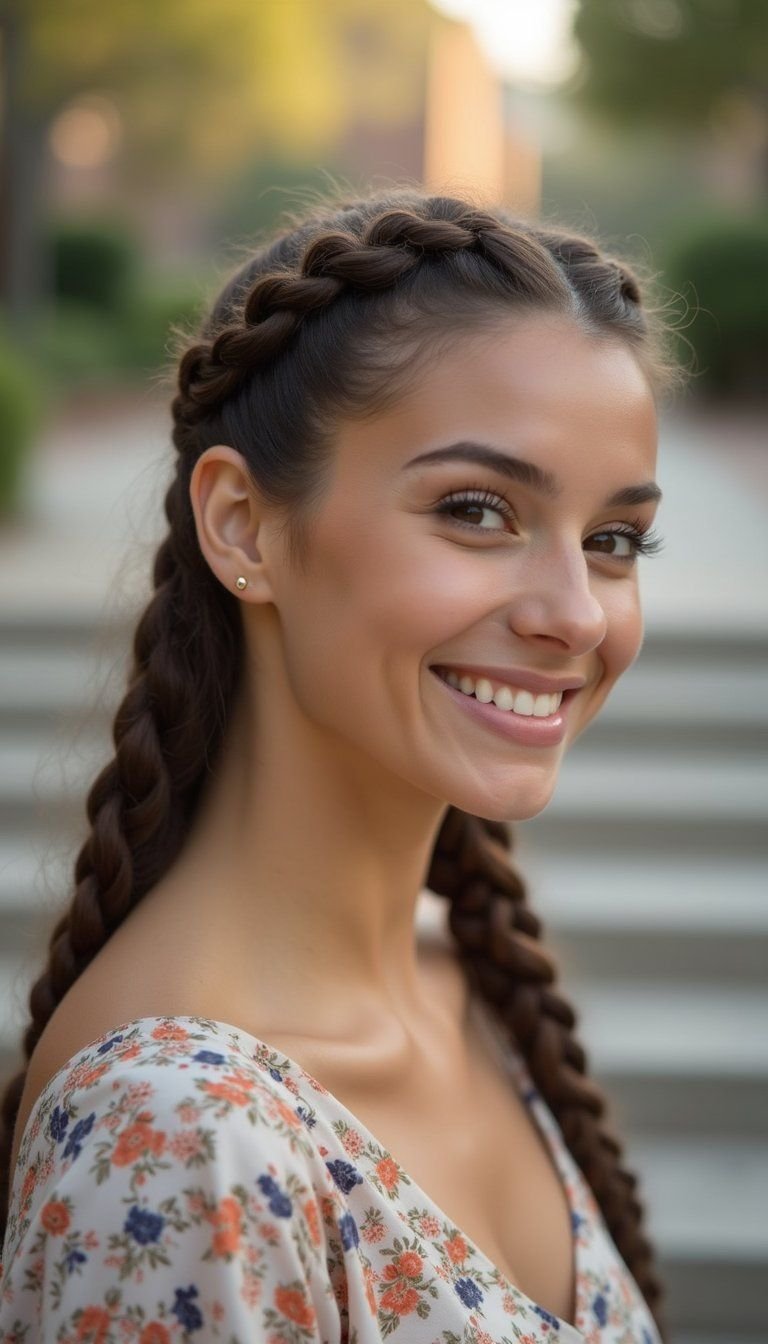
A braided crown that wraps into a neat coil at the nape keeps hair low and secure under graduation headwear. Start with two sections braided along each hairline and bring them around to meet at the back, then pin them into a flat coil. The braid adds texture while keeping volume close to the head, which is ideal if you want an intricate look without lifting the cap. This version flatters those who like romantic detail but need a practical finish for the ceremony.
Styling Tips
- Loosely pull braid edges for soft texture without bulk.
- Pin the braid base flat with multiple pins for security.
- Spritz with light-hold spray to keep frizz down.
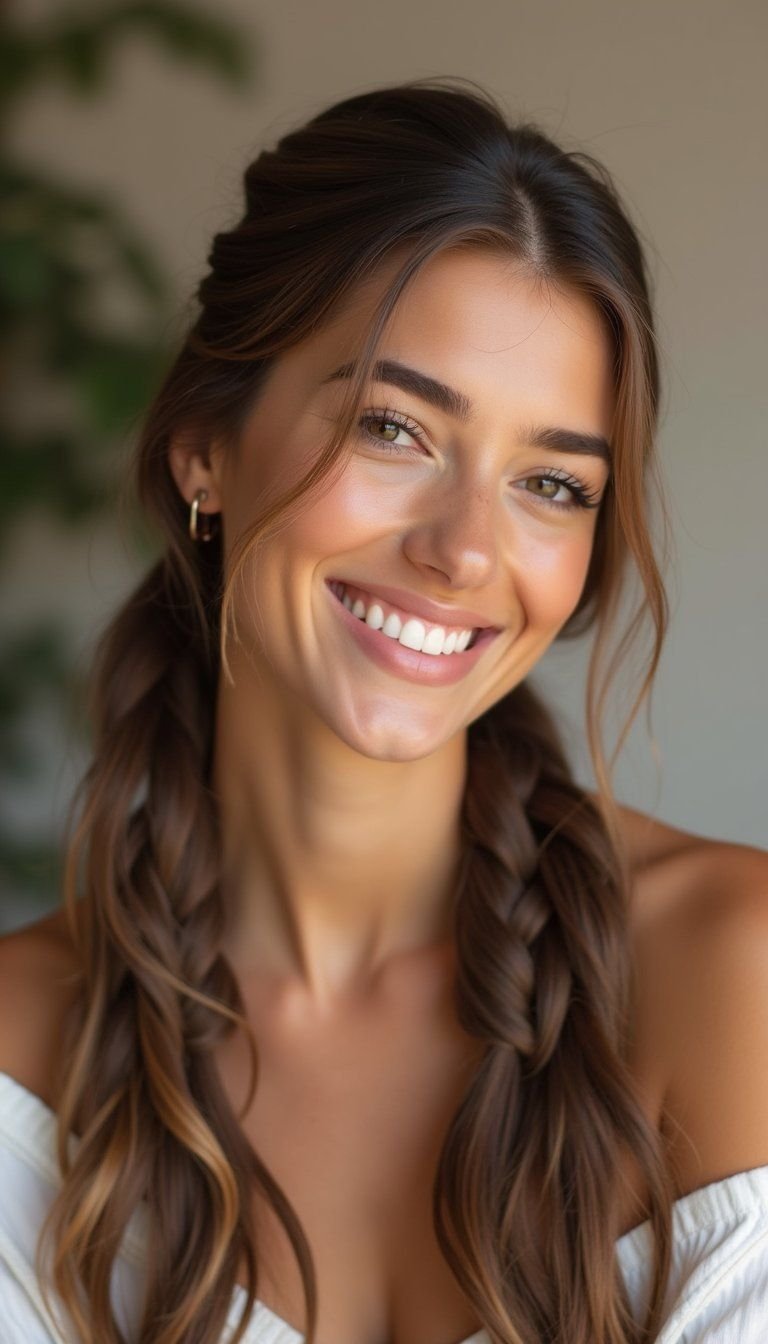
Double Dutch Braids Tucked Under Cap
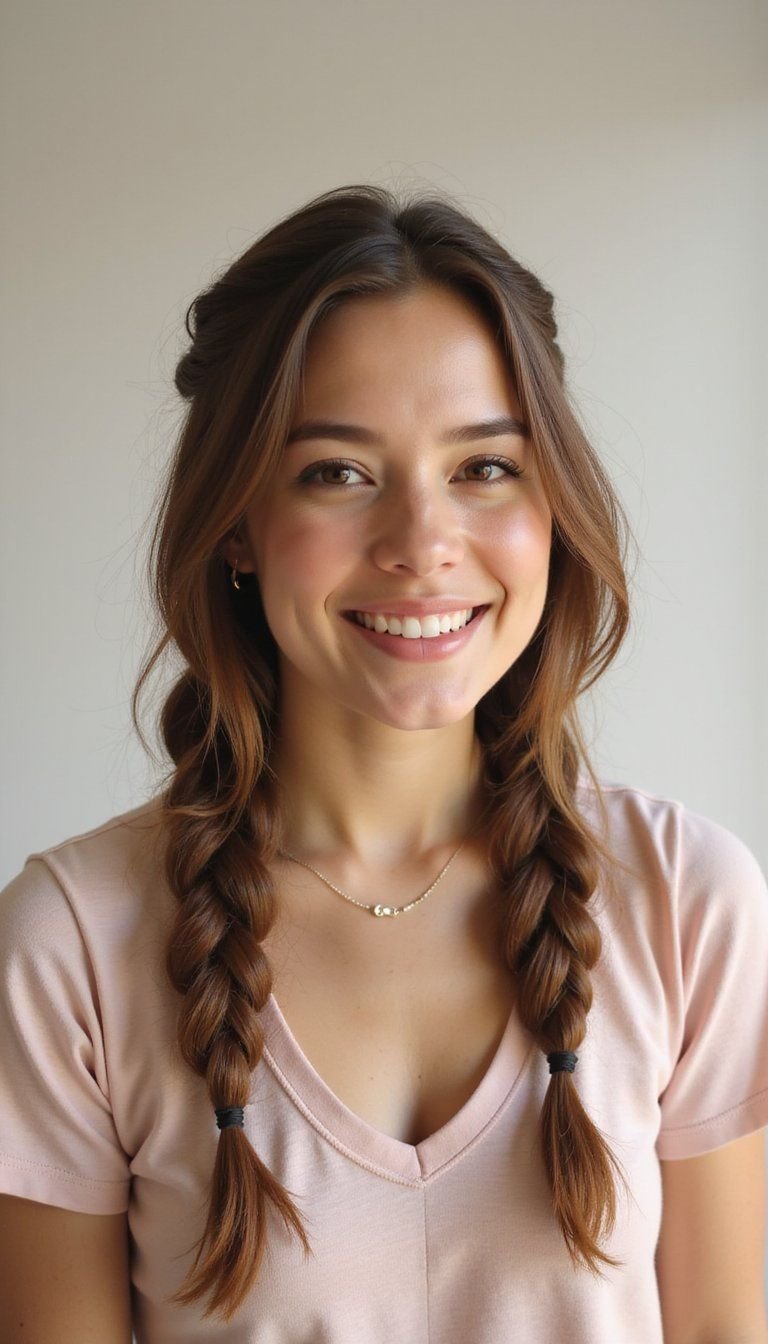
Double Dutch braids split the hair into two strong sections that lie flat and can be tucked under a mortarboard easily. Braid tightly from the hairline down to the nape, then coil each braid into a low tuck and secure with pins. This look keeps hair off the face and stays intact through hugs and movement, making it ideal for long ceremonies. It also works well for textured hair, as the braids give structure and a neat silhouette that won’t puff up under the cap.
Styling Tips
- Apply leave-in conditioner for slip while braiding.
- Tuck braids flat and anchor with sturdy bobby pins.
- Set edges with a light edge-control product if desired.
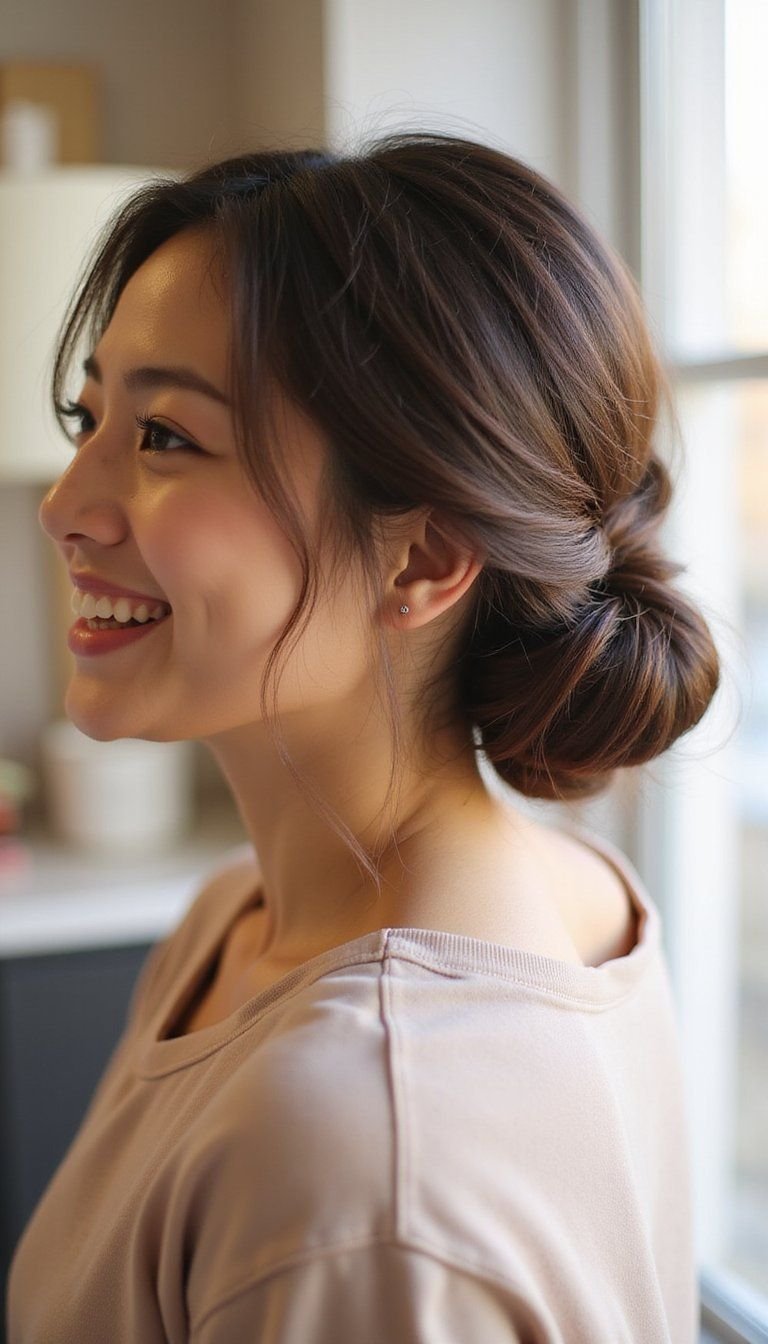
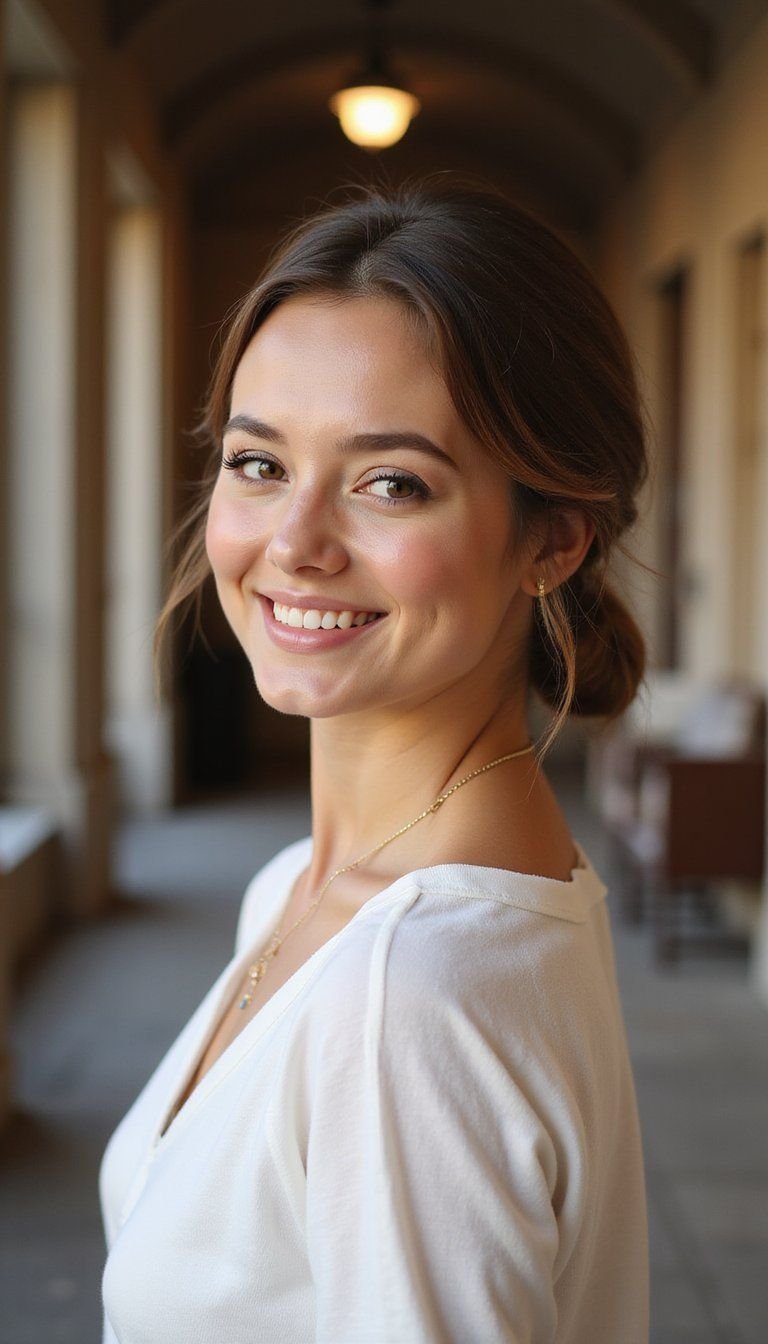
Low Chignon With Smooth Face Framing
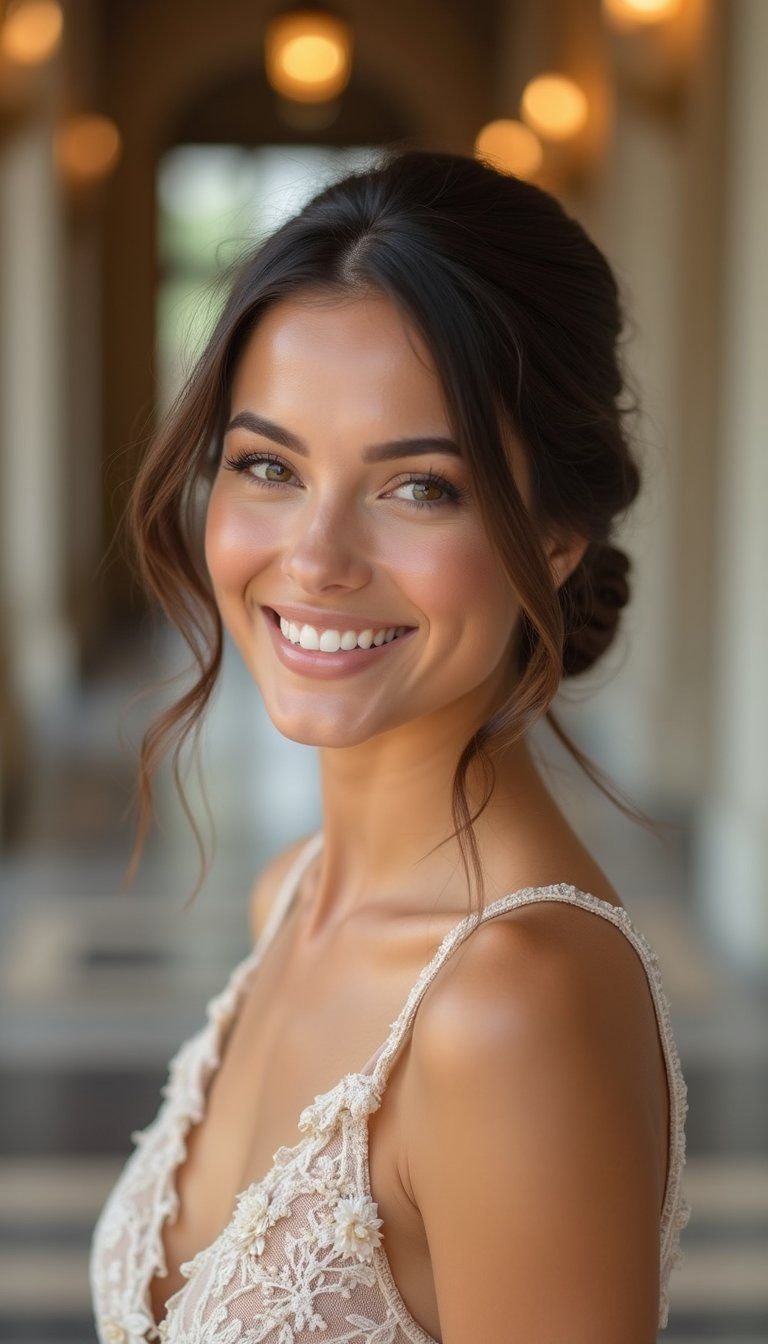
The low chignon is a classic option that keeps most hair beneath the cap while allowing subtle face-framing pieces to soften the look. Pull hair into a low pony, twist into a coil at the nape, and pin it flat against the head. Leave a couple of tendrils at the front and smooth them with a light styling cream for a polished finish. This approach is great for formal photos and pairs well with graduation gowns, giving a refined silhouette without raising the cap away from the head.
Styling Tips
- Secure the base with an elastic that matches your hair color.
- Wrap the chignon flat and pin close to the scalp.
- Use a lightweight sheen spray for a camera-ready finish.
Half Up Twist Secured Close To Head
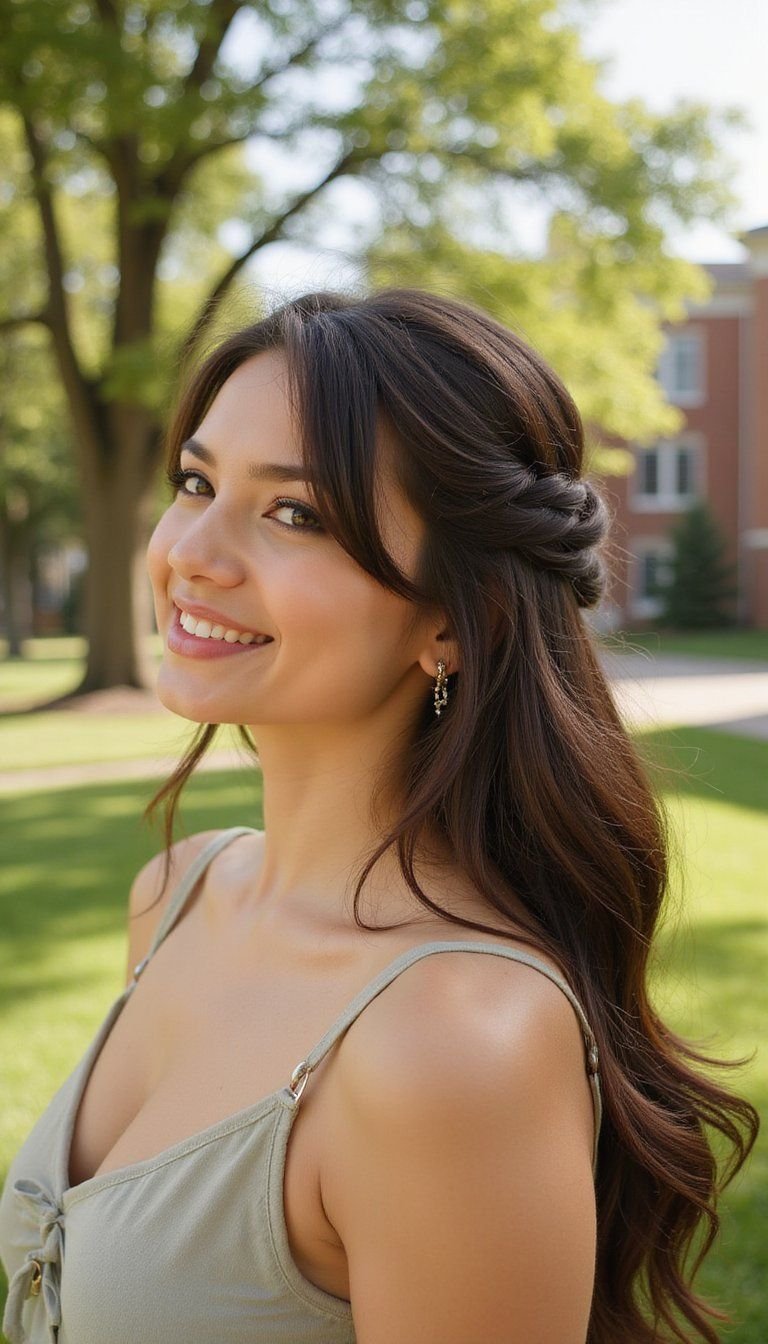
The half-up twist gathers the top layer and pins it low and close to the head so the cap sits evenly. Take two front sections, twist them toward the back, and secure at the nape with pins or a small elastic. The remaining hair stays down but rests beneath the cap edge. This look balances an open, celebratory feel with practical shape control, perfect for those who want movement in photos without adding bulk under the mortarboard.
Styling Tips
- Create a tight twist to avoid slipping under the cap.
- Use discreet pins or a small clear elastic for a clean finish.
- Tame baby hairs with a tiny amount of styling cream.
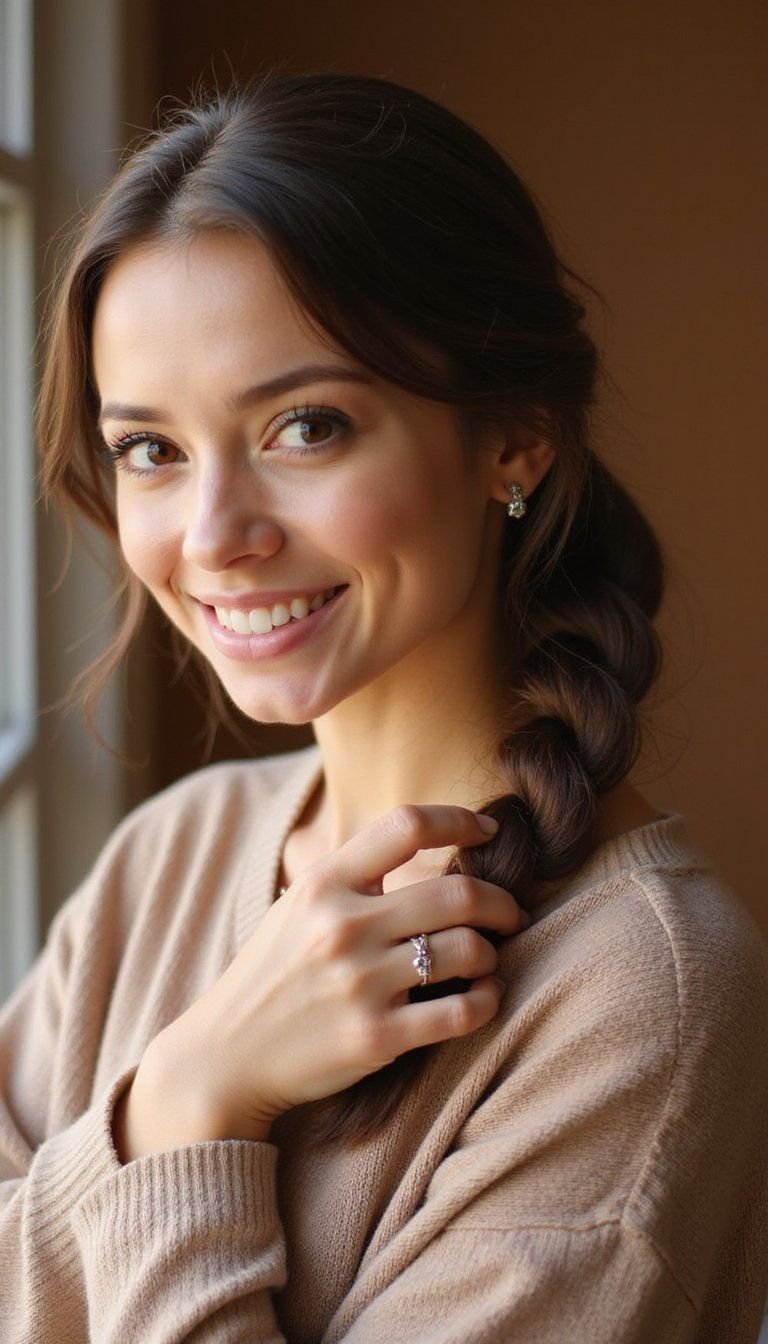
Fishtail Braid Piled Flat At Nape

A fishtail braid gives a refined textured look while keeping the bulk low when piled flat at the nape. After braiding, gently press the braid into a flat coil and pin it against the base of the skull. This lets the braid shine in photos but keeps the overall height minimal, so the mortarboard sits comfortably. It’s a flattering choice for medium to long hair and works with smooth or slightly textured finishes for a classic yet modern feel.
Styling Tips
- Braid tightly for a sleeker flat finish under the cap.
- Pin the braid coil with several pins to prevent shifting.
- Loosen a few strands near the face for softness if desired.
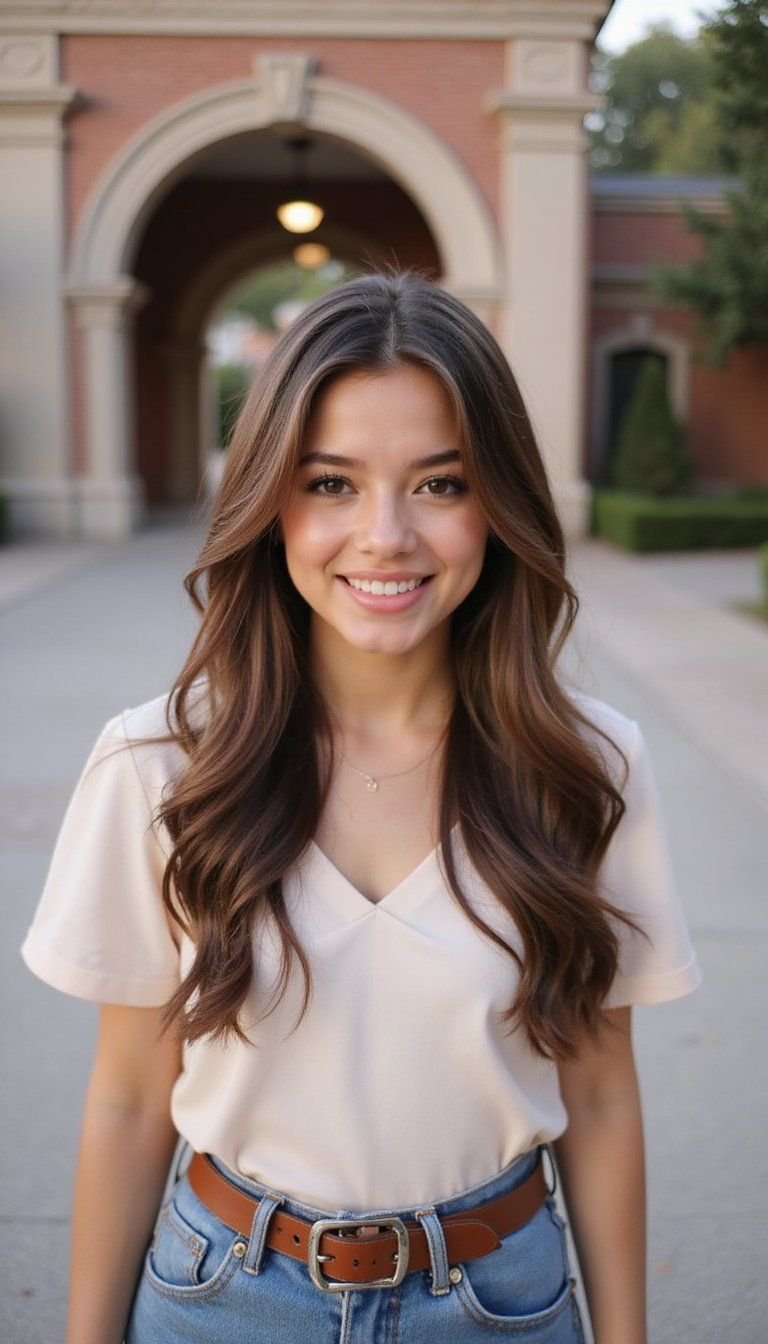
Sleek Low Pony With Wrapped Section
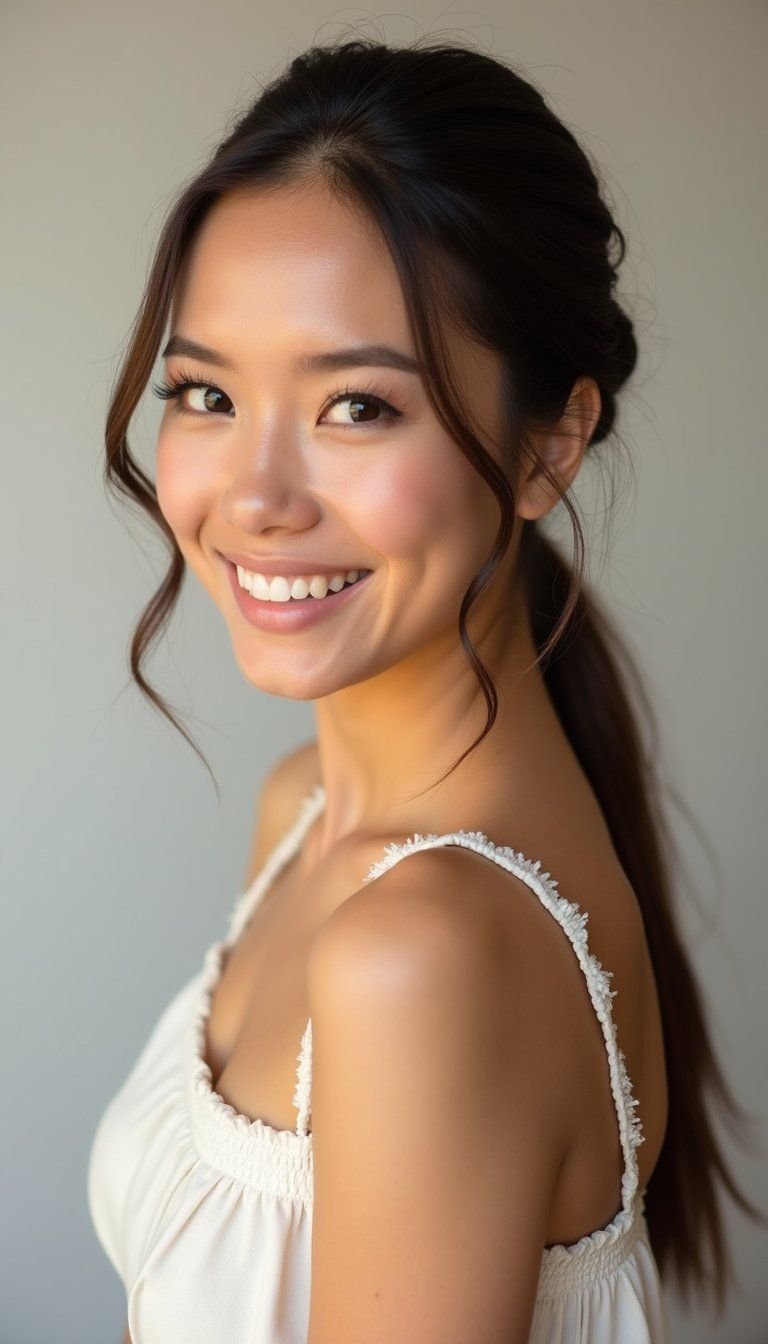
A sleek low pony keeps hair compact and neat beneath the mortarboard, and wrapping a small section of hair around the tie hides the elastic for a polished finish. Smooth the hair back with a serum or gel, secure at the nape, then wrap a strip of hair around the base and pin it flat. This minimal look is quick, elegant, and flattering on many face shapes. It’s a favorite when you want modern simplicity that photographs cleanly during the ceremony.
Styling Tips
- Use a brush to smooth hair before securing the ponytail.
- Wrap and pin the hair strip flat to avoid bulk.
- Apply a shine serum sparingly for a camera-ready sheen.
Side Low Bun For Asymmetrical Flair

A side low bun placed just off-center gives a modern twist while still keeping the cap level. Sweep hair to one side, anchor it near the nape, and coil into a squat bun that stays close to the head. The off-center placement adds personality without lifting the mortarboard too high. This approach works well for straight and wavy textures and gives you an opportunity to add a small accessory on the bun’s side if desired, as long as it stays flat against the head.
Styling Tips
- Sweep hair gently to one side and secure close to the scalp.
- Keep the bun compact to maintain a low profile.
- Pin tightly and finish with hairspray for hold.
Twisted Low Pony With Hidden Elastics
Twisted low ponytails divide hair into sections twisted toward the center and tied low for a neat, sculpted look that lays flat under the mortarboard. Twist two side sections into the center, secure with an elastic, and then wrap the length into a low pony that stays close to the head. Tucking the elastic under a wrapped section keeps the silhouette smooth. This option gives the ponydetail without adding height and works for fine to medium hair that needs a little structure.
Styling Tips
- Twist sections tightly to avoid slipping during the event.
- Use small elastics that match your hair color.
- Pin any loose ends in a flat arrangement at the nape.
Flat Halo Braid Around The Crown
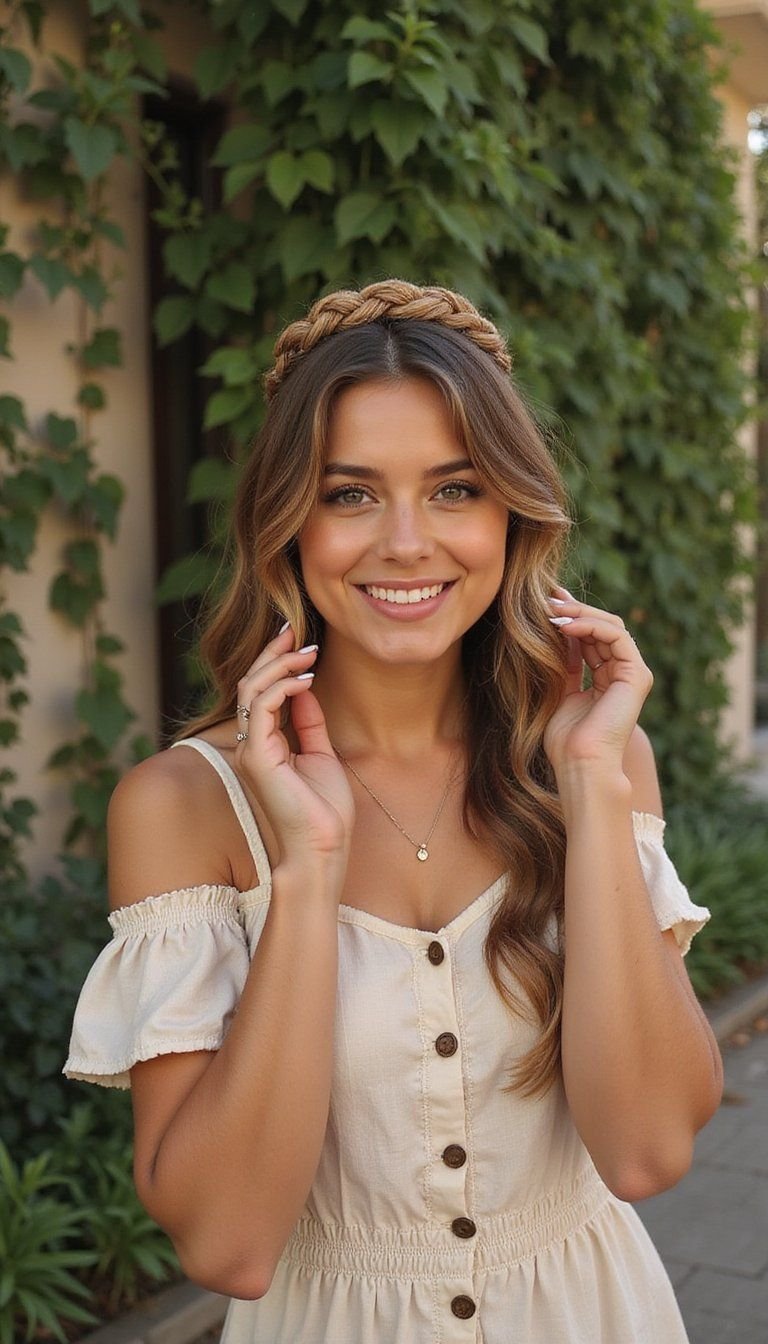
A flat halo braid encircling the crown hugs the head and creates a low-profile decorative look that works well with a mortarboard. Braid close to the scalp in a crown pattern, pinning as you go so the braid lies flat. This keeps hair controlled, adds interest in photos, and avoids raising the cap. It’s especially flattering on medium to long hair and gives a polished, bohemian vibe without compromising comfort during the ceremony.
Styling Tips
- Braid snugly along the scalp to keep the halo flat.
- Secure with pins tucked beneath the braid for a clean finish.
- Add a light mist of hairspray to prevent frizz.
Sleek Bob Tucked Neatly Under Cap
A sleek bob can look polished when the ends are tucked under the cap edge rather than creating lift. Smooth the hair with a straightening balm and brush the ends under slightly before placing the mortarboard. The tuck keeps the silhouette even and frames the face in a clean way for photos. This approach works for short to medium bobs and is a quick option for anyone who prefers a low-maintenance, neat finish on ceremony day.
Styling Tips
- Straighten or smooth damp hair for a sleek finish.
- Tuck ends gently under to avoid cap lifting.
- Use light hairspray to preserve the shape without stiffness.
Textured Low Bun For Curly Hair
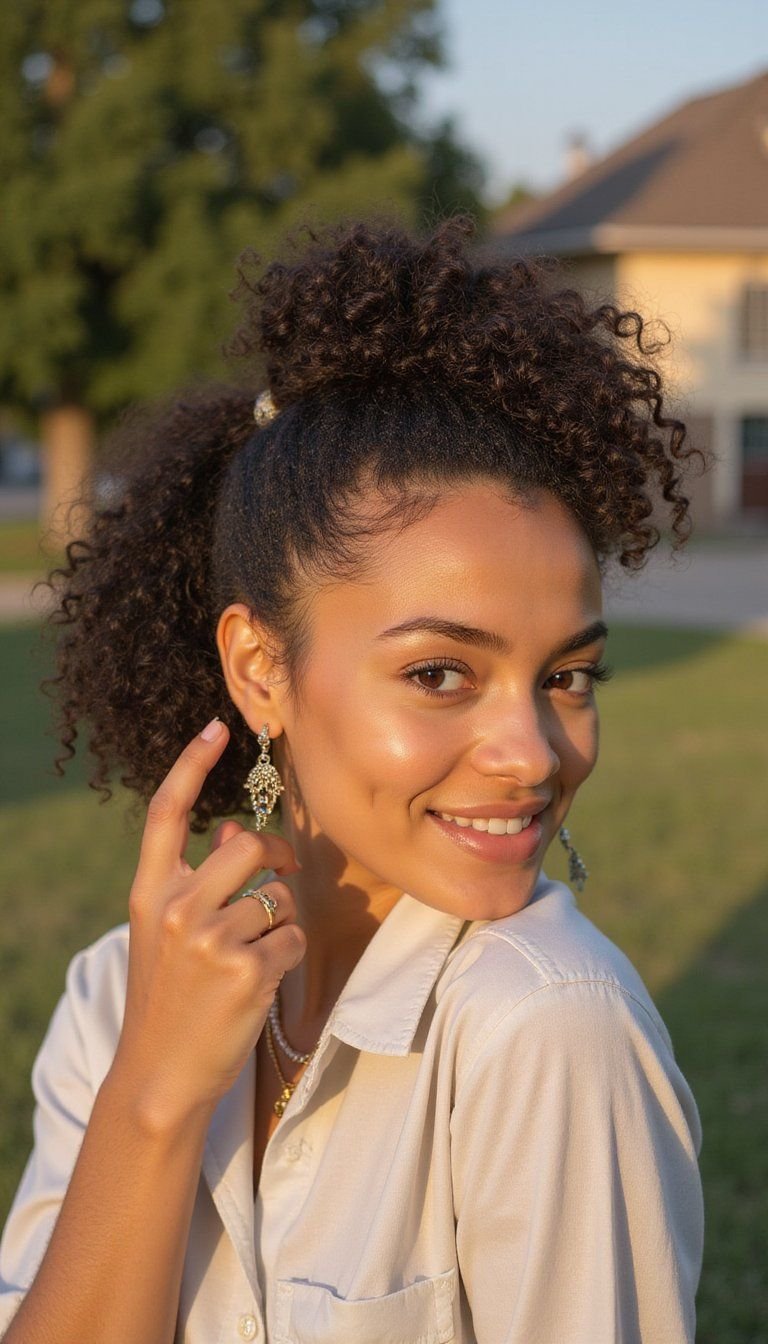
Curly and coily hair looks gorgeous in a textured low bun that keeps volume centered at the nape rather than on top. Gently define curls with a leave-in or curl cream, gather hair low, and form a loose bun that sits flat against the head. The natural texture adds visual interest while remaining cap-friendly. This approach celebrates curl pattern while keeping the mortarboard comfortable, and it pairs well with a little edge control if you prefer a neater finish around the hairline.
Styling Tips
- Define curls with a moisturizing cream before styling.
- Create a compact bun to reduce top height.
- Use pins that hold through movement and humidity.
Low Twisted Bun For Medium Length
A low twisted bun uses small twists to build a compact, flat knot at the nape, ideal for medium-length hair that might not reach a large bun. Twist small sections toward the center and pin them into a tidy, layered coil that hugs the scalp. This method avoids bulk while delivering a secure, polished finish for cap wear. It’s great when you want an elegant updo that still feels light and keeps the focus on your face and gown in ceremony photos.
Styling Tips
- Twist each small section tightly before pinning.
- Layer twists flat to form a compact coil.
- Finish with anti-frizz spray for a sleek look.
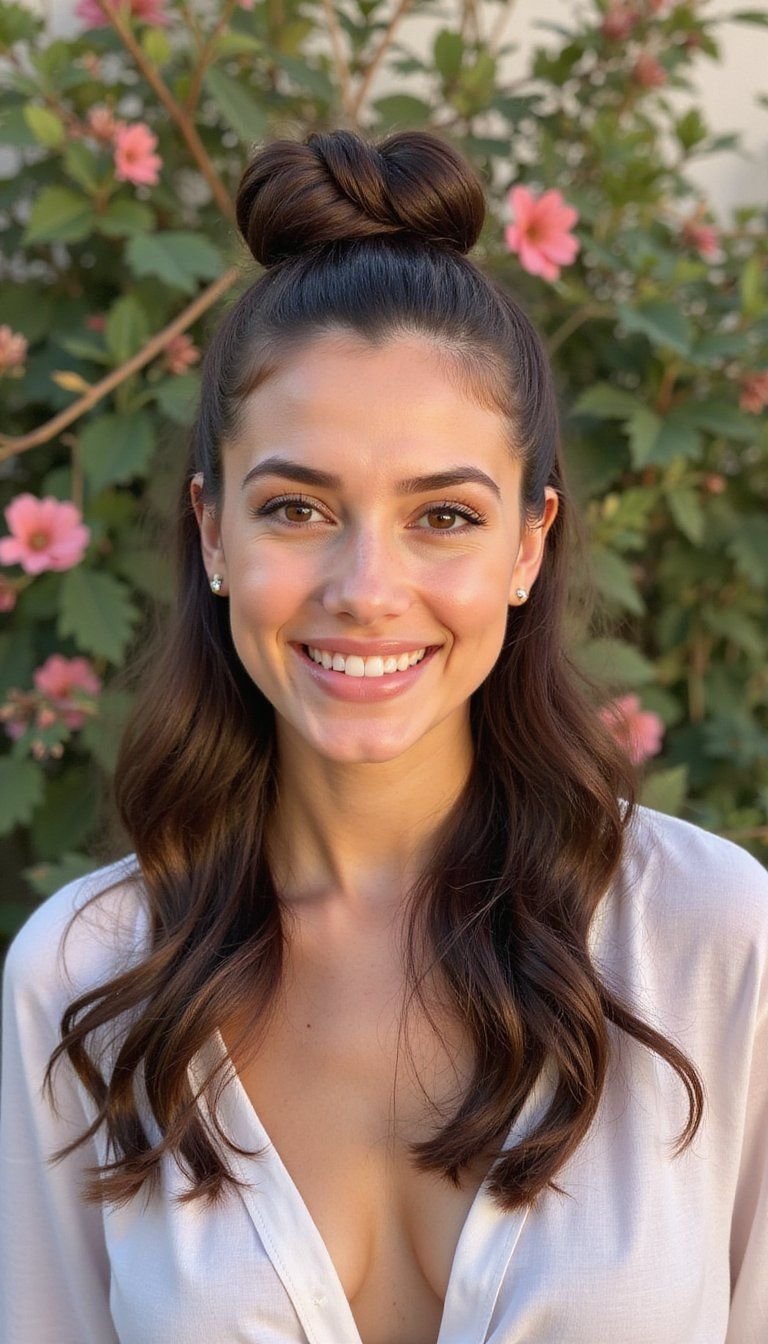
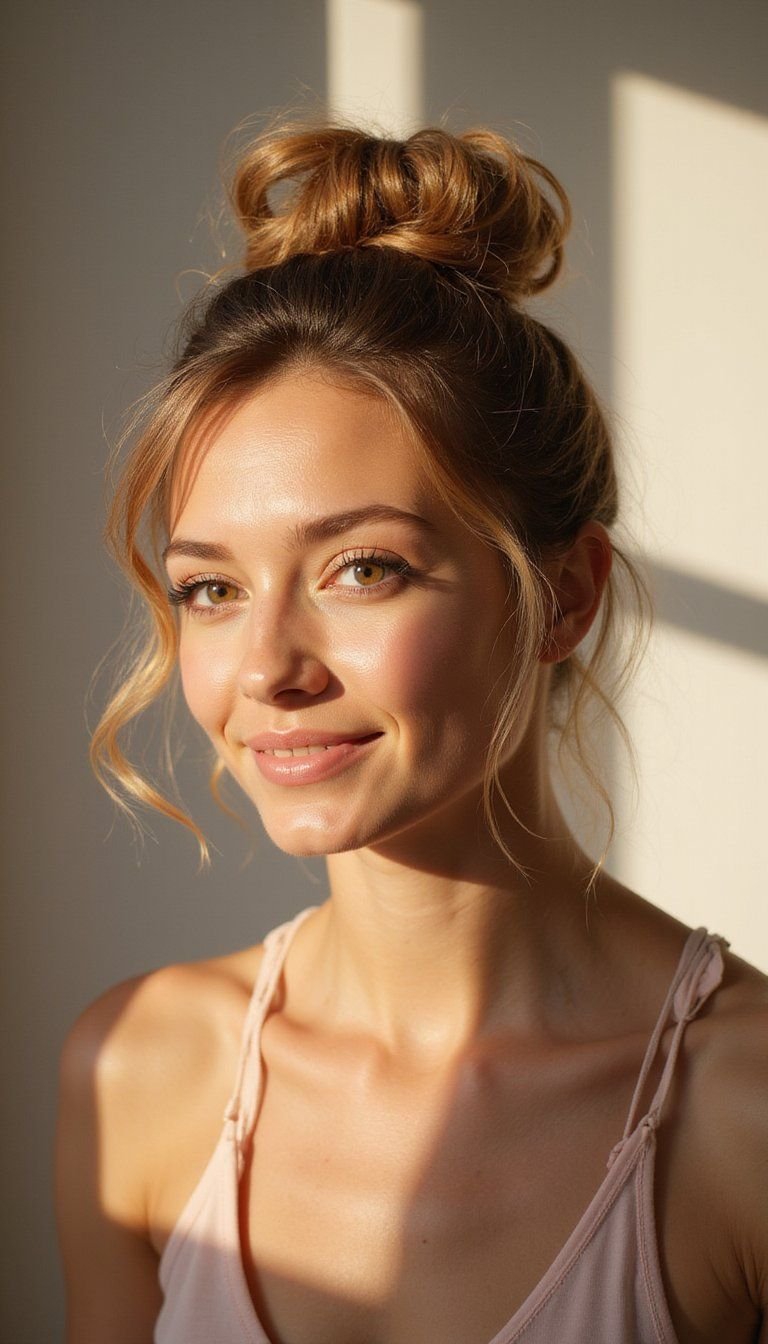
Minimal Top Knot With Secure Base
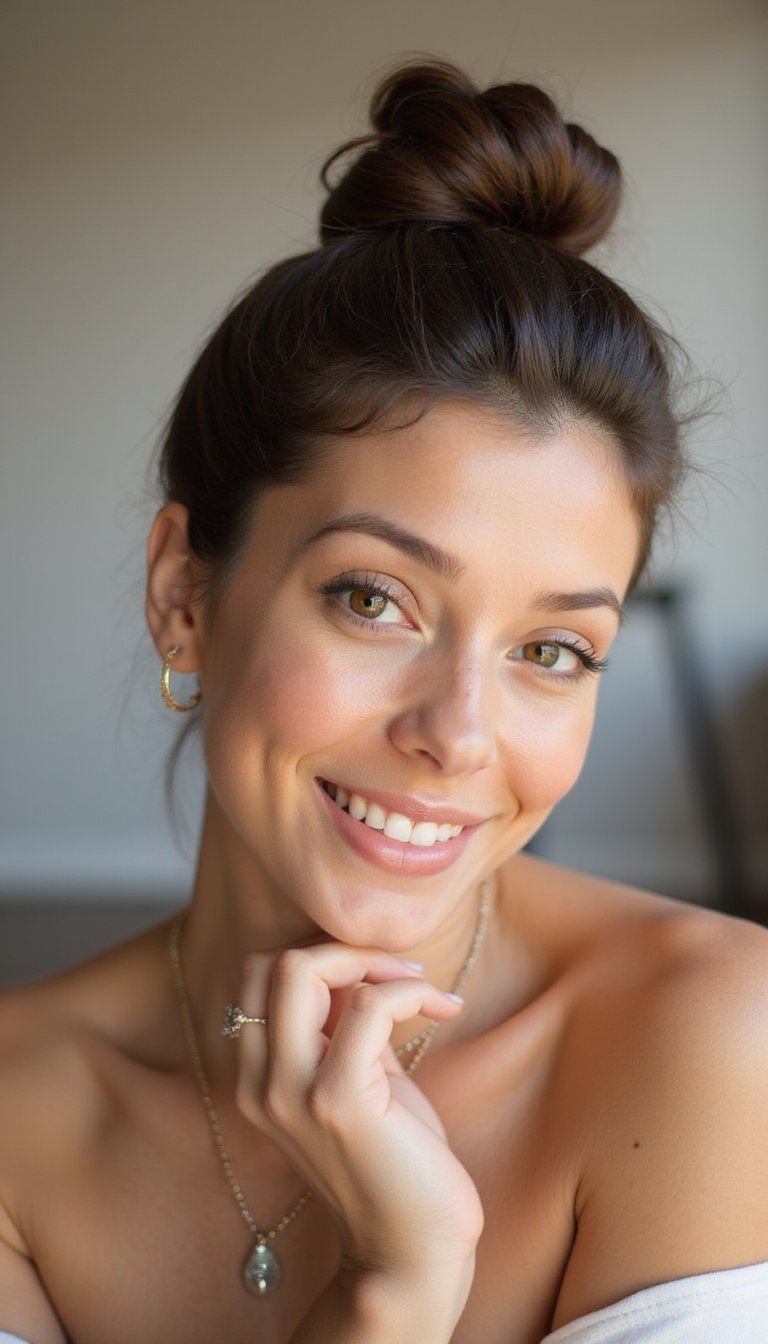
A minimal top knot can work if you keep the base low and flat—avoid a high puff that lifts the mortarboard. Position the knot low on the crown, twist hair into a tight bun, and press it close to the head. Secure the base firmly so the cap rests evenly. This gives a neat, modern look while preventing the hat from tilting. It’s a good pick for people who enjoy top knots but need a more ceremony-friendly silhouette that won’t interfere with photos or movement.
Styling Tips
- Keep the knot lower than a typical top bun to reduce height.
- Secure with pins and a strong elastic at the base.
- Smooth the hairline to avoid stray hairs lifting the cap.
Flat Sleek Pony With Deep Side Part
A deep side part with a flat sleek pony creates a chic silhouette that keeps hair controlled beneath the mortarboard. Smooth hair into place following a dramatic part, secure the pony at the nape, and ensure the hair sits close to the head. The deep part adds interest and frames one side of the face for flattering photos. This approach works especially well on straight or slightly wavy hair and keeps everything tidy for a long day of celebration.
Styling Tips
- Create the deep part with a rat-tail comb for precision.
- Smooth with a lightweight serum to reduce frizz.
- Keep the pony tight to avoid shifting under the cap.
Braided Bun With Low Profile Finish

This braided bun weaves texture into a compact knot that tucks neatly at the nape. Braid sections first, then wrap them into a low bun and pin close to the scalp to avoid lifting the mortarboard. The braided detail gives a handcrafted feel in photos, and the low placement keeps the cap comfortable. It’s a great option for anyone who wants an ornate look without the bulk, and it holds well through windy weather and busy ceremony moments.
Styling Tips
- Braid small sections for more texture without bulk.
- Pin the bun flat and test with a practice cap placement.
- Seal with a light-hold spray to keep pieces in place.
Low Ponytail Wrapped With Ribbon Accent
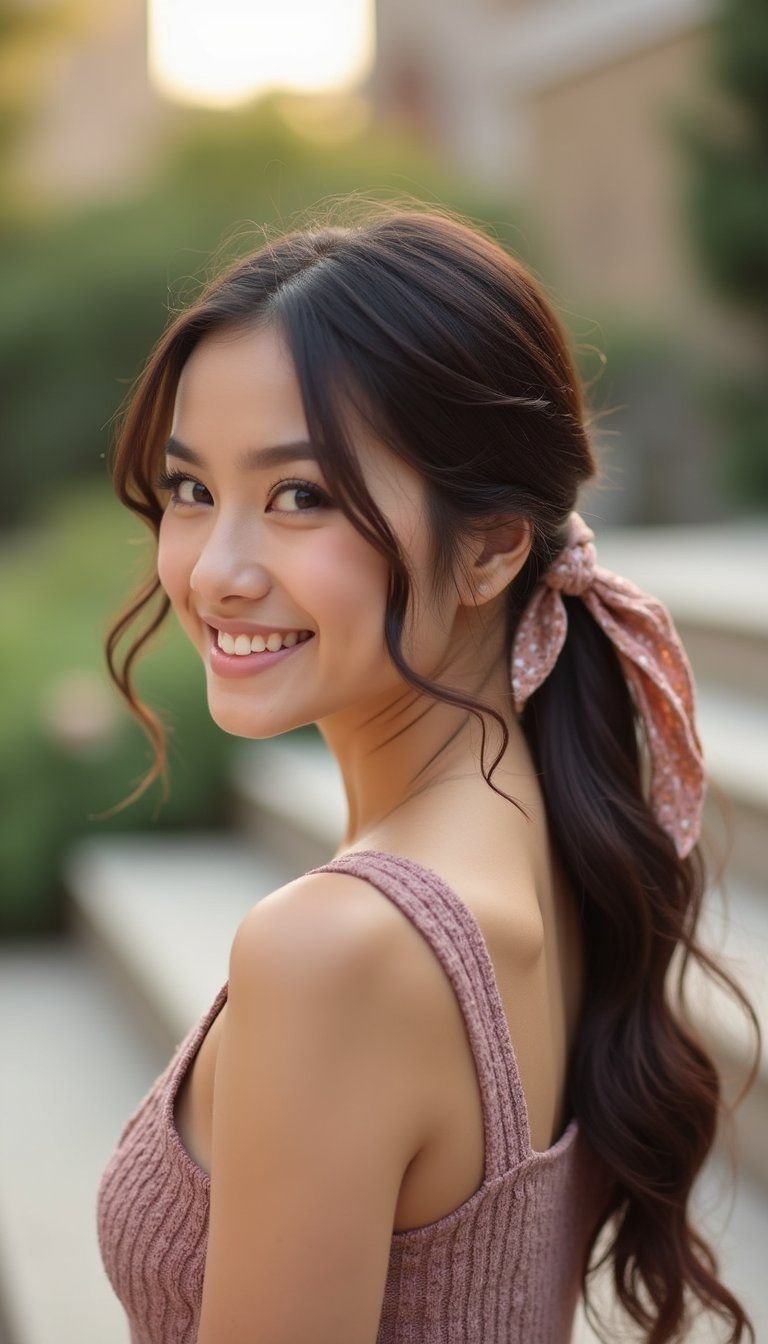
A low ponytail wrapped with a flat ribbon adds a playful, polished touch while staying cap-friendly. Tie a smooth pony at the nape, wrap a ribbon flat around the elastic, and pin it so nothing sticks up. Choose a fabric and color that complements your gown or tassel for photos. The ribbon stays low and decorative without creating height that would prevent the mortarboard from sitting flush, making this a sweet choice for a festive yet practical graduation look.
Styling Tips
- Choose a narrow ribbon to avoid adding bulk under the cap.
- Secure the ribbon ends beneath the pony for a clean finish.
- Use a light hairspray to keep ribbon and hair in place.
Half Up Braided Knot At Nape
The half-up braided knot gathers just the top half of the hair into a small braided knot that sits low and flat, letting the lower half remain down beneath the cap edge. Braid a top section and loop it into a compact knot, pinning it close to the head. This keeps hair off the face while preserving movement below, and the knot adds a pretty focal point without changing cap fit. It’s a sweet compromise for those who want both an updo and flowing hair for photos.
Styling Tips
- Braid the top section tightly to prevent slipping.
- Pin the knot flat against the scalp at the nape.
- Keep the lower half smooth or softly waved for balance.
Low Sleek French Twist For Formal Look
The low French twist is timeless and keeps hair compact and elegant beneath the mortarboard. Roll hair upward into a vertical twist, then press it flat and secure along the nape for a slim profile. This gives a refined silhouette for formal ceremony photos and stays comfortable during long events. It works best on medium to long hair and can be adapted looser for a softer effect or tighter for a more structured appearance that won’t interfere with the cap’s placement.
Styling Tips
- Roll hair tightly and pin along the seam for a flat finish.
- Use U-pins for strong hold through movement.
- Add a light sheen spray for elegant polish.
Wavy Half Bun Secured Flat Against Head
The wavy half bun keeps the top section styled while the lower half flows beneath the mortarboard edge. Gather the crown into a small bun placed low and pin it flat so it won’t lift the cap. Enhance the lower hair with soft waves for a romantic frame in photos. This look mixes relaxed texture with control at the top, letting you feel dressed up without sacrificing cap comfort or balance. It’s especially nice for those who want motion in their hair while keeping a ceremony-ready silhouette.
Styling Tips
- Create loose waves on the lower half for movement in photos.
- Pin the half bun flat and test cap placement beforehand.
- Use a few flexible pins to allow comfort without slipping.
Layered Low Bun With Soft Face Framing
Layered hair can be styled into a low bun that tucks ends in while leaving gentle face-framing layers out. Gather longer layers into a compact bun and pin the shorter pieces so they blend smoothly with the face-framing tendrils. This keeps the cap sit-down-friendly while letting layered cuts shine in photos. It’s a flattering option for layered medium-length hair and balances the desire for softness around the face with the need for a low silhouette at the nape.
Styling Tips
- Pin shorter layers invisibly into the bun for a smooth finish.
- Use a small amount of smoothing balm on front sections.
- Test the cap over the bun to ensure the fit is flat.